How LoRA Models Work in Anime Image Generation
Summary: Learn how LoRA models work in anime image generation, what LoRA weight and strength mean, and how to use LoRA to control anime styles and characters.
LoRA has become a core tool in anime image generation, especially for creating consistent styles and recognizable characters. Many creators use LoRA by adjusting a weight value and expect immediate visual changes, without fully understanding how it influences the model.
Because LoRA is applied during the image generation process, it is often casually referred to as “anime LoRA” or “image LoRA.” In reality, LoRA is a model-level adaptation that works alongside a base model and is controlled through parameters such as strength.
To use LoRA effectively in anime image generation, it helps to first understand what a LoRA model actually is and how it affects the final output. Let’s start with the basics.
What Is a LoRA Model?
Before discussing weights or usage, it helps to form a simple understanding of what a LoRA model actually is. LoRA is widely used in anime image generation, but it is often misunderstood as a visual effect or a prompt trick.
At its core, a LoRA model is a small model add-on that changes how a base image generation model behaves. It does not replace the base model, and it cannot generate images on its own.
What “LoRA” Actually Means
LoRA stands for Low-Rank Adaptation. In practice, this means LoRA adjusts specific parts of an existing model rather than creating a completely new one.
This is why LoRA models are:
- 🧩 Lightweight and quick to load
- 🧠 Used together with a base model
- 🎨 Able to produce clear changes in style or character appearance
Why It’s Often Called “Image LoRA”
Many users casually call LoRA “Image LoRA” because its effects are directly visible in the generated image. When a LoRA is active, the same prompt can lead to noticeably different results.
However, LoRA is not an image or a post-processing filter. It works during the generation process, influencing how the model interprets prompts internally.
This common naming comes from the fact that:
- 👀 The impact of LoRA is easiest to see in images
- 🎭 Most LoRAs target anime styles or characters
- 🎚️ LoRA behavior is controlled through simple parameters
LoRA as a Model Add-on, Controlled by Parameters
A LoRA always works alongside a base model. It extends the model’s behavior instead of replacing it.
What makes LoRA especially flexible is that its influence can be adjusted through parameters such as weight or strength.
In simple terms:
- 🔽 Lower weight applies subtle changes
- 🔼 Higher weight pushes the style or character more strongly
- ⚖️ The right balance depends on the base model and the LoRA
Understanding this relationship makes it much easier to use LoRA effectively, especially in anime image generation.
LoRA Types and Key Parameters Explained
In anime image generation, most people use LoRA for one reason: to control characters and styles without breaking the image.
In practice, LoRA usage can be grouped into two types 👇
- Character LoRA – keeps a specific character consistent
- Style LoRA – controls how the image looks and feels
LoRA works as a model add-on, modifying the base model during generation through adjustable parameters such as weight (strength). Understanding these differences helps you use LoRA more intentionally—starting with Character LoRA, which is the easiest to see in action.
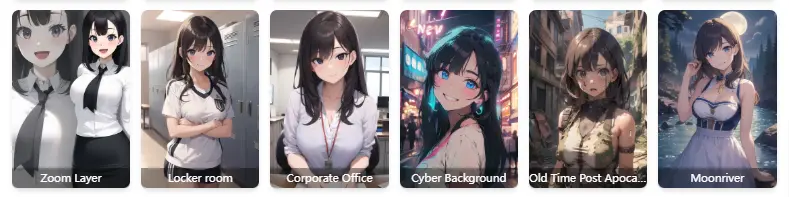
Character LoRA — Locking Identity While Everything Else Changes 👤
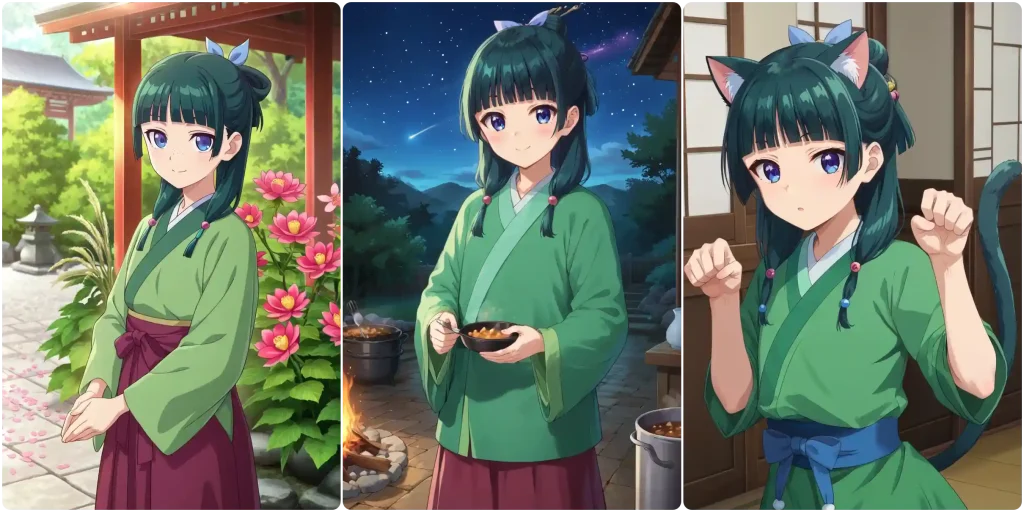
A Character LoRA is designed to preserve who the character is, even when everything else in the image changes.
Without Character LoRA, small adjustments—such as switching the background, changing the pose, or altering the art style—often result in a character that looks slightly different each time. Over multiple generations, those small differences add up, and the character’s identity becomes unstable.
With Character LoRA applied, the core features of the character remain consistent. You can vary the scene, expression, outfit, or composition, and the character still looks like the same person across images.
This is why Character LoRA is especially useful for:
- 🧍Showing the same character in different scenes or settings
- 🎭Creating multiple poses or expressions without “face drift”
- 📘Building visual consistency for comics, stories, or OC series
In the examples below, the background and style change from image to image, but the character remains recognizable. This demonstrates the practical value of Character LoRA in real AI anime image generator workflows.
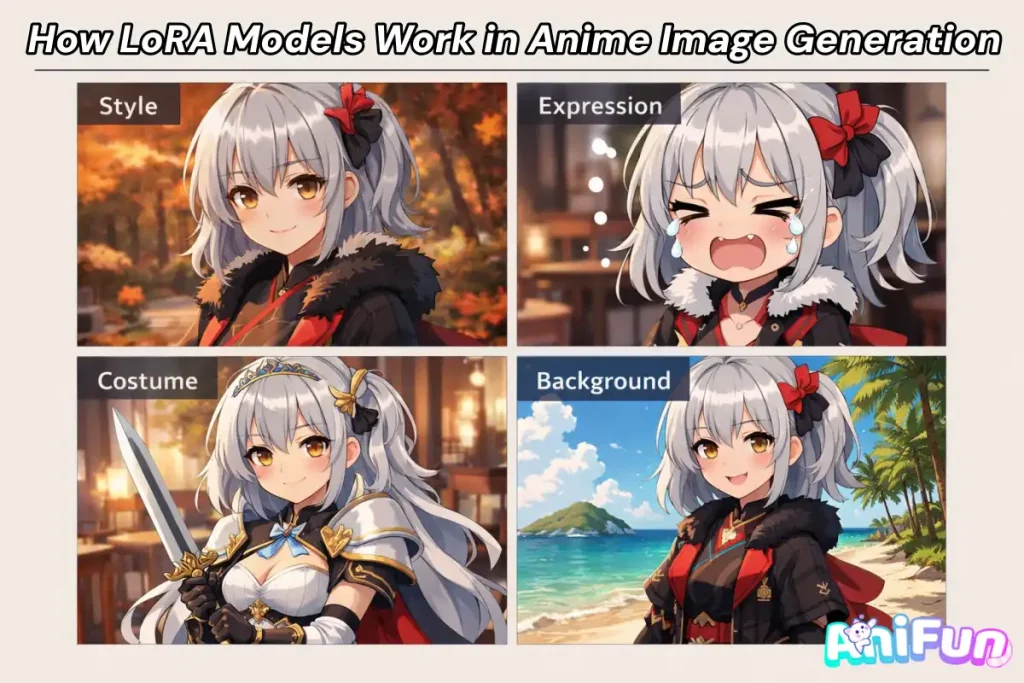
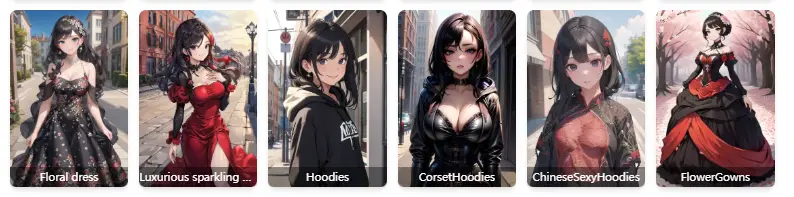
Style LoRA — Shaping How the Image Looks 🎨
While Character LoRA focuses on who the character is, Style LoRA controls how the image is visually presented. It allows you to change the mood, appearance, and presentation of an image without altering the character’s core identity.
In practice, style control can be broken down into several visual dimensions. Each one affects a different part of the final result and can be adjusted independently.
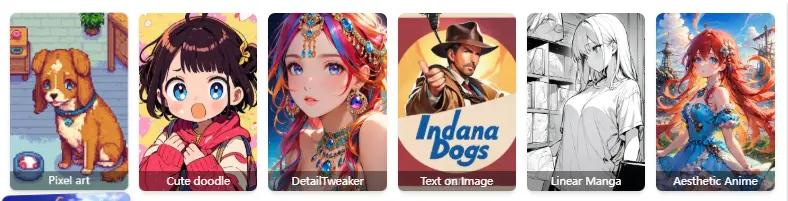
🎨 Visual Style
Only the overall art style changes, such as line quality, shading, or color tone, while the character remains the same.
-
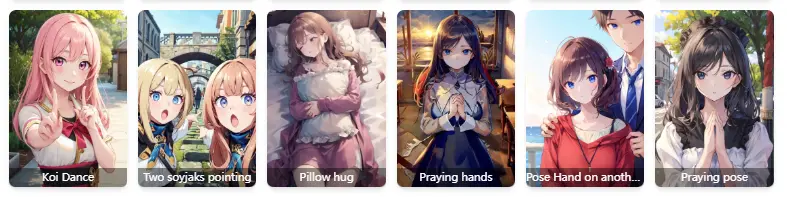
🙂 Expression
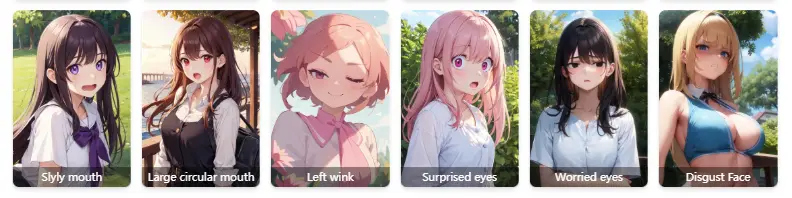
-
👗 Costume
-
🕺 Posture
-
🌆 Background
By combining these dimensions, Style LoRA makes it possible to fine-tune how an image looks without locking it into a single rigid style. This is especially useful when exploring different moods, scenes, or visual storytelling directions.
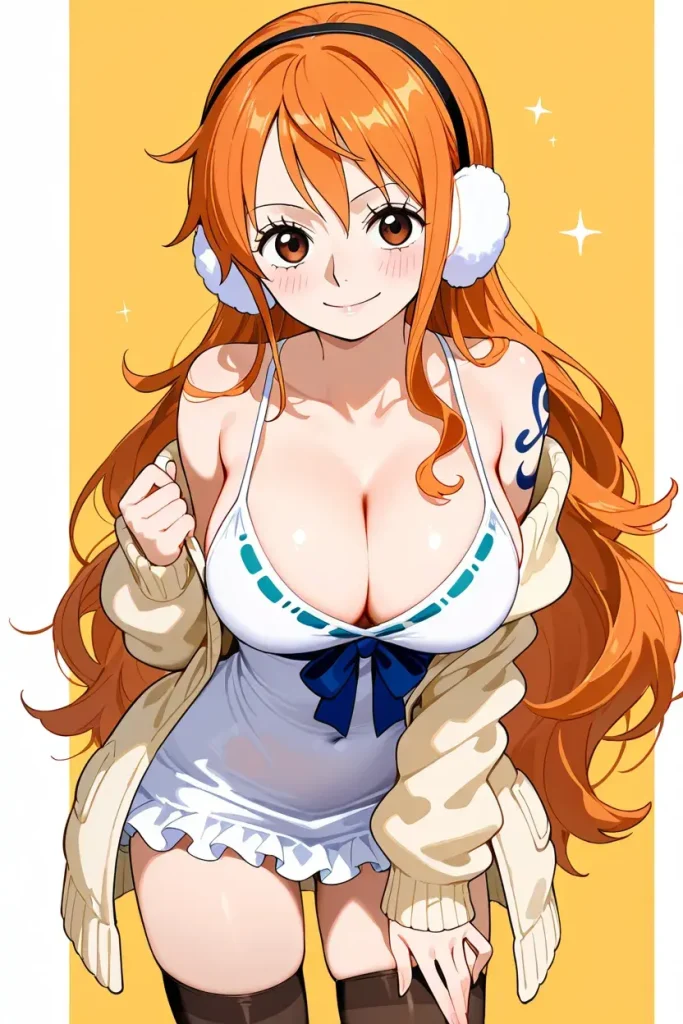
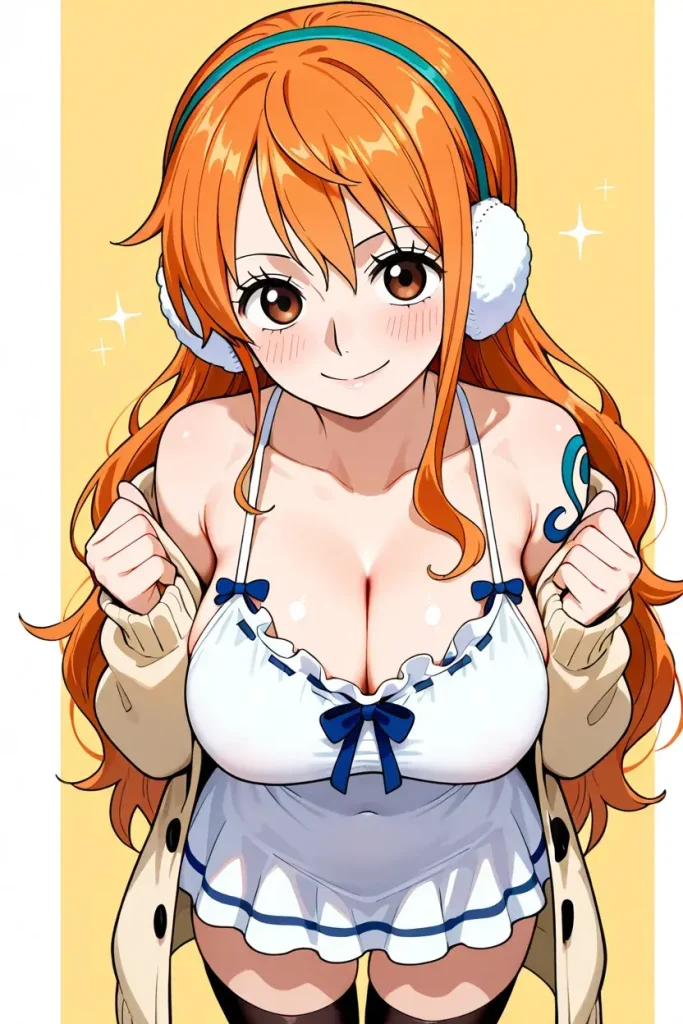
LoRA Weight (Strength): How Much Is Too Much? ⚖️
LoRA weight (sometimes called strength) controls how strongly a LoRA influences the final image. In simple terms, it decides whether the LoRA effect is subtle, balanced, or overpowering.
When the weight is adjusted, nothing else about the generation process changes—the base model, prompt, and character stay the same. What changes is how much priority the LoRA is given during image generation.
In practice, LoRA weight usually falls into three recognizable ranges 👇Same character + same style
🔹 Too low(Weight 0.4)
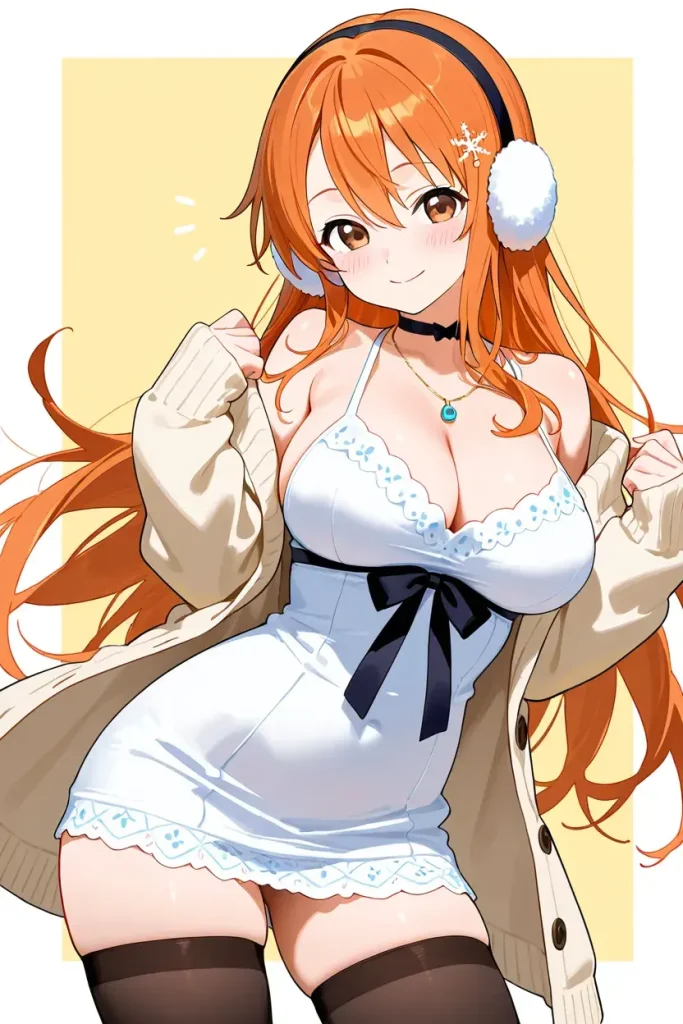
The LoRA effect is barely visible.
Character LoRA may fail to lock identity, and Style LoRA may feel inconsistent or weak.
The LoRA influence is clear but controlled.
Characters stay recognizable, and style changes are noticeable without overriding other details.
The LoRA starts to dominate the image.
Faces may look distorted, poses become stiff, or style details overpower composition and prompt intent.
The examples below use the same prompt and setup, with only the LoRA weight changed. This makes it easier to see how increasing strength affects the final result.
The key takeaway is that higher weight does not mean better results. A balanced setting usually gives you the most flexibility—strong enough to apply the LoRA effect, but not so strong that it limits variation or introduces artifacts.
How to Use LoRA Models in Image Generation (Practical Tips) 🛠️
Understanding how LoRA works is only half of the equation. In real image generation workflows, the results often depend less on theory and more on how LoRA is applied in practice. Small decisions—such as workflow order, how many LoRAs are used together, or how weights are adjusted—can significantly affect the final image.
Below are several practical tips that help avoid common pitfalls and make LoRA usage more predictable and controllable.
Start with a Simple Workflow
A reliable LoRA workflow usually starts simple. Apply one LoRA at a time, confirm that it behaves as expected, and only then move on to further adjustments.
A practical baseline workflow looks like this:
- Choose a stable base model first
- Apply one Character or Style LoRA
- Adjust LoRA weight before adding more complexity
This approach makes it much easier to identify what is actually influencing the image.
Using Multiple LoRAs Together (Stacking)
It is possible to use multiple LoRAs in a single generation, but stacking should be done intentionally. Each LoRA competes for influence, and excessive stacking often leads to visual conflicts.
When combining LoRAs, keep these guidelines in mind:
- Avoid stacking multiple Character LoRAs at the same time
- Combine one Character LoRA + one or two Style LoRAs at most
- Reduce individual weights when adding more LoRAs
Fewer LoRAs with clear roles almost always perform better than many overlapping ones.
Setting LoRA Weight in Practice
- Start with a moderate weight
- Increase only if the LoRA effect feels too weak at most
- Decrease if identity becomes rigid or visual artifacts appear
✅Quick Checklist: Avoid These Common LoRA Mistakes
- Use only one Character LoRA
Unless you are intentionally generating multiple characters, avoid applying more than one Character LoRA at the same time. - Do not stack too many LoRAs
Using more than five LoRAs often reduces image quality and confuses the model. For extra details, rely on prompts instead. - Avoid conflicts between LoRA and prompts
Make sure your prompts and LoRAs are aligned. Conflicting instructions—such as a smiling prompt with a crying expression LoRA—lead to unstable results.
Rule of thumb: fewer LoRAs, clearer intent, better images.
Final Thoughts
LoRA is not about adding more models or increasing complexity. It is about control—controlling character identity, visual style, and how strongly those influences shape the final image.
By understanding the difference between Character LoRA and Style LoRA, using weight as a balancing tool rather than a force multiplier, and avoiding common stacking mistakes, LoRA becomes a practical and predictable part of your image generation workflow.
When used intentionally and in combination with clear prompts, LoRA helps you create consistent, high-quality images without sacrificing flexibility.